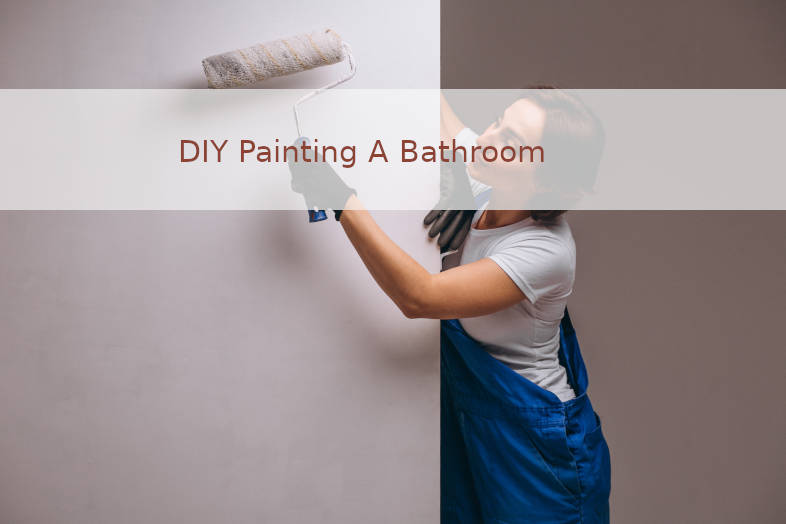
Painting your bathroom can be a daunting task that requires knowledge and experience. There are also many different types of paint that you can choose from to get the desired look for your space. However, if you’re looking for an easy DIY project with guaranteed results, then this blog post is exactly what you need!
We’ll cover all the steps needed to create a beautiful bathroom in just one day – no matter how much painting experience you have. We’ll also list some helpful tips along the way so it’s not as stressful or overwhelming as it may seem at first glance.
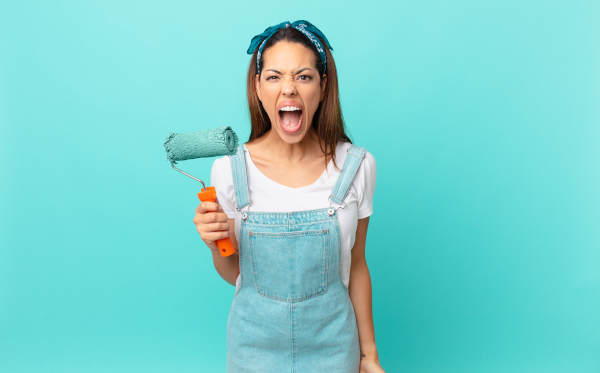
Bathroom painting materials
When painting your bathroom, there are some materials and supplies you’ll need to get. You can get paint that doesn’t need a primer, or go with a more inexpensive brand and use a primer. Then there are brushes – fine tips and firm bristles – a paint roller and pan, and a metal screen. This last item will help to insure that the roller doesn’t drip.
And then there are the non-paint items: sand paper, painter’s tape, and some plastic or cloth drop cloths.
Bathroom Painting Materials:
*Paint (primer optional)
*Brushes (fine tips & firm bristles)
*Roller & Pan
Proper Preparation
Have you always wanted to paint your bathroom? We’re here to help. Here are some things you’ll need: • Drop cloths (plastic or cloth) – cover sink, vanity cabinets etc. with the drop cloths and secure them with painter’s tape so they don’t move around during painting.
Cover mirrors and other hanging items with small cloths and tape them down so that the drop cloth doesn’t get in their way when painting these objects. You can also use painters’ tape on any object- large or bulky- that will not be touched by the paintbrush but needs protection from dust while being painted.
• A plastic tarp for under the bathtub if it’s a pedestal tub, or a rug that can be removed with a quick tug if that’s what your tub is mounted on.
• Plastic keep-out tape for the edges of the walls and any other areas where you need to keep paint off. Tape it down all around at least an inch or so up from the floor, especially in corners. You want to have a good seal on the floor so that paint doesn’t seep under. You can also tape on fixtures- like towel holders or curtain rings if they’re hollow and you don’t want paint getting into the inside of them (it may cause clogs later.)
Prepping the walls
Sand any gloss down to an almost matte, rough finish with 100 or 120-grit sandpaper. [Note: if you’re using a primer, this is not necessary.]
Wash the walls and make sure they are completely clean and dry.
Put up painters tape around any fixtures or trim that you don’t want painted. It’s easiest to use a pencil and mark them on the wall. You’ll have to hold the tape by hand, but it helps keep your lines straight if you’re not too steady with a brush.
You should also tape off your vent, so the dust doesn’t blow all over the rest of the room.
You can just use newspaper to cover up anything that you don’t want painted. Just tape it on good with painter’s tape.
I’d suggest taping some sort of plastic or something else down inside your tub/shower to prevent any paint from getting in there. You can use a cheap plastic drop cloth for this, but make sure it’s the kind with little holes poked in it to let any moisture through.
You also might want to remove your light switch and outlet covers or paint them separately later on.
If you have a radiator, cover it up with newspaper and tape it down well. I didn’t paint around ours, but you can use painters tape if you want to.
If there are any stains on the wall that you have to get rid of before painting, now’s the time to scrub them with something like Goof Off or whatever else you need for your walls.
Let everything dry really!
Time to Get Started
Now it is time to get painting. If your paint requires a primer, then apply the appropriate product and follow along with these simple steps:
First start by brushing or roller-painting around any edges that may be covered in this area so they have something solid for protection from water damage; next use an artist brush on one side of each section you wish painted (you can also spray them) before going back over those same areas again using another smaller brush/roller combination if necessary-the goal here being getting as close possible coverage without having too much wasted strokes between colors which would take away from their appearance once done); finally leave enough time under cover overnight just incase!
Now, there is one more important step. When you get to the paint screen be sure and roll it up in order not for any drips or blots on your floor! You should let this sit after completely priming an entire room before drying off- just like everything else we’ve done today at least twelve hours later so far according how long they say things take when getting wet with water mixed into their own chemicals (which may seem scary).
Here’s a tip: you only need one coat of primer, despite what some salesperson might tell you. So go easy on the paint! Once it’s dry and sand-able (you can get away with less if your surface is super smooth), run an electric sander across all corners or just use paper towel to lap up any excess before wiping off any dust onto another section so that even strokes cover entire walls in their intended color without bumps showing through from too much pressure being applied at once
A quick note about using power tools while working like this – make sure they’re set down low enough where nothing will damage whatever surfaces we want our finished product looking nice; otherwise there’ll be plenty more to do besides just getting finished today.
When priming, a light sanding is all that’s needed. Be sure not to over-sand or you’ll scratch the walls and have to spend more time touching up paint. Once you’ve let it dry, fill in any nail holes with a quick spackling job using a putty knife and either joint compound or any paintable touch-up product, which you can usually buy at the store to save some time.
Painting you bathroom
When you’ve taken care of all the prep work, it’s time to paint! The same rules apply as with primer and gloss: use a brush on edges where there is contact like around your sink or toilet. Then roll everything else in one coat for best results- but if needed two will do just fine too since they provide extra strength against water damage from humidity levels increasing when we have rainy season coming up again this year finally haha!. Once dry give them both light sanding before hitting them lightly once more so that no rough patches are left behind which would make me sad because I love how smooth surfaces look (and feel).
Pro tip – Wall textures
Wall textures are one of the best ways to customize your home without having to repaint. A little texture goes a long way, and you don’t have to go all out either. There are some easy ways that can help you achieve different looks with just a few simple steps. So before you begin painting this weekend, here’s what you need to know about applying wall textures:
First you want to decide what kind of texture you want for your space. This depends a lot on how much work you want to do, and the overall look you’re going for.
If it’s a small room or an accent wall with not a whole lot of textured surface area, you might want to go with something simple like sponging. If you have a little bit bigger space, or you have some time on your hands to do a multi-day project, then running your walls with drywall mud is the way to go – it gives the most dramatic effect.
Another option if you don’t want anything too intense is to mix texture paste with paint before applying to the walls. This is best suited for smaller areas like accent or trim walls, and you can get a lot of different effects with it.
Here are some sample textures:
Sponging – apply paint to your wall using a wide sponge brush leaving behind texture in random spots. Apply base coat, then sponged color, then top coat. 1 or 2 layers should do the trick for this one.
Drywall Mud – apply thin layer of drywall mud to wall using a squeegee, sponge, or trowel – whatever works for your space. Let dry overnight and lightly sand with 200-grit sandpaper so it’s not too bumpy. Apply base, texture, and top coat for best results.
Drywall Paste – apply your favorite paint color to the wall using a roller or brush to get an even finish. Once dry, mix 1/3 water to 2/3 drywall paste in a small container until you have a thick, lumpy consistency. Spread over wall with a wide brush and let dry overnight. Lightly sand smooth and apply base coat followed by top coat for some extra shine.
You can do it! Giving your bathroom a facelift is easier than you think. All you need to do is pick the right paint, plan for what needs to be done before painting, and then put on some old clothes and get started with these DIY tips that will make this process as fun as possible. You’ll have an updated bathroom in no time.
RELATED POSTS YOU MIGHT BE INTERESTED IN:
How to Clean Your Bathroom Tips and Hacks
The Recipe for a Beautiful Face: (Dry Skin Care)
What is the difference between synthetic wicker and natural wicker?